Quickstart
End-to-end: from sign-up to a verified user, in about ten minutes.
Prerequisites
- A Self.xyz dashboard account (sign up).
- Node 20+ (for the SDK).
- A way to receive a webhook locally, ngrok, Cloudflare Tunnel, or any public HTTPS endpoint.
1. Create your organization
After sign-up you’ll be prompted to create an organization. An org owns flows, API keys, webhook subscriptions, and the billing relationship. You can invite teammates from Settings → People once it’s set up.
2. Create a flow
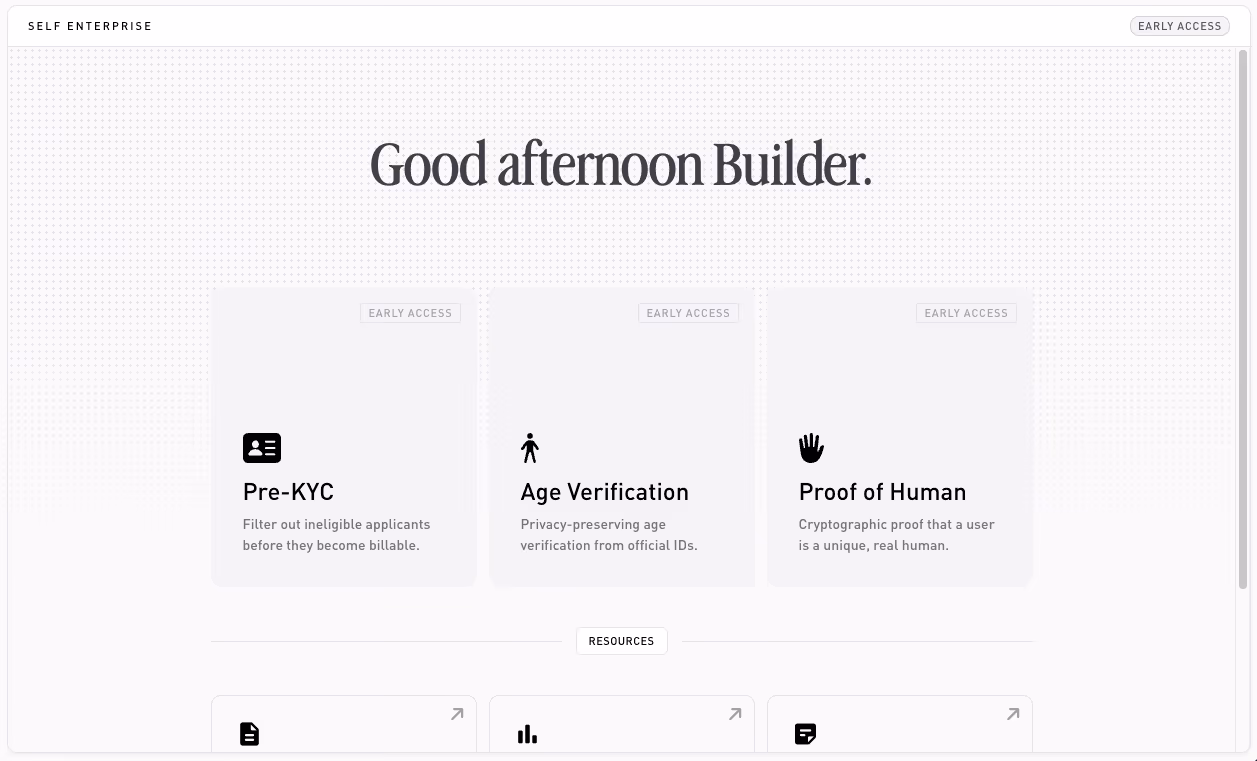
The dashboard home shows a card for each of the three products. Every product lets you set a Security level (Standard or Hi-security) and toggle an OFAC check; they differ in the age and country rules:
- Pre KYC: minimum age and country rules.
- Age Verification: a minimum age (for example 18 or 21).
- Proof of Human: no age or country rules, just unique humanity.
Open a product and click New config. For this walkthrough, Age Verification is the quickest: set a minimum age and publish. (The Configure tab also has Additional data reveals and a name/icon under Configuration details, see Configure a product.)
Once published, your configuration has a flowId. Copy it.
Test vs. live: a configuration published in your test environment only accepts mock passports and never bills credits. See Test vs. live.
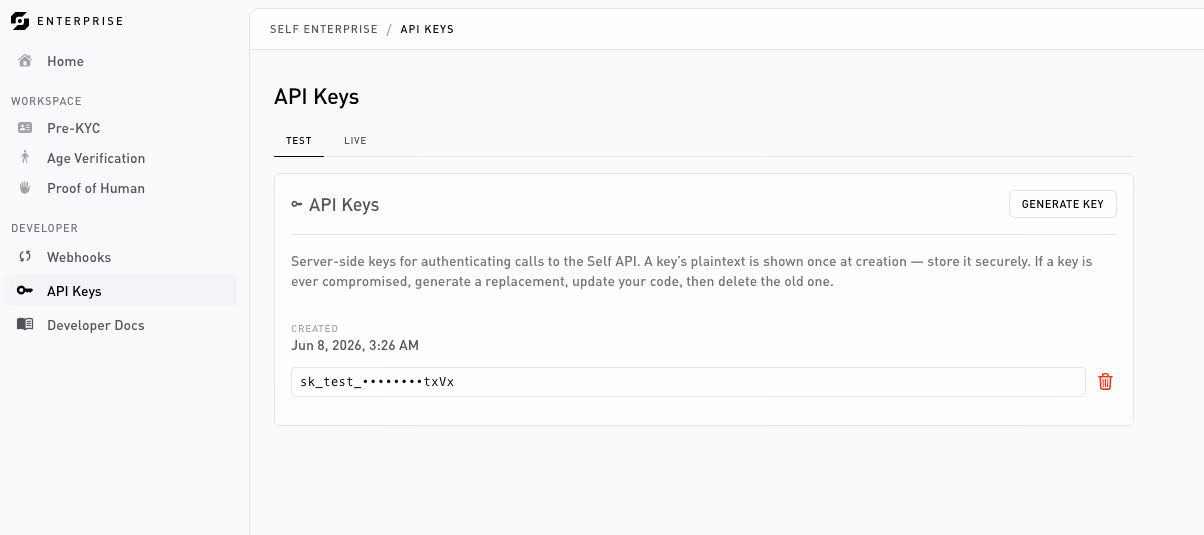
3. Create an API key
Go to Developer → API keys, keep the Test tab selected, and click Generate key. The key (sk_test_...) is shown once, store it as SELF_API_KEY in your backend’s secret manager. See API keys.
4. Install the SDK
npm install @selfxyz/enterprise-sdk5. Create a verification session
import { SelfClient } from '@selfxyz/enterprise-sdk';

const self = new SelfClient({ apiKey: process.env.SELF_API_KEY! });

const session = await self.sessions.create({
  flowId: '<paste flowId from step 2>',
  externalUuid: user.id,               // your stable UUID for this user.
});

console.log(session.verificationUrl);  // hand this to the user.
The user opens verificationUrl in their Self app, produces a proof, and the app submits it back to us.
6. Add a webhook endpoint
In Developer → Webhooks → Add webhook, paste the full URL to your handler (e.g. https://<your-tunnel>/webhooks/self, including the path) and click Save. The endpoint saves right away and the dashboard reveals a signing secret (whsec_...) once, store it as SELF_WEBHOOK_SECRET. Every endpoint receives the verification.completed event.
Once your handler (step 7) is deployed, you can hit Send Test Request on the endpoint to confirm it’s reachable. See Webhooks for the full detail.
7. Verify webhook deliveries
import express from 'express';
import { SelfWebhooks } from '@selfxyz/enterprise-sdk';

const app = express();

app.post(
  '/webhooks/self',
  express.raw({ type: 'application/json' }),  // raw body is required for signature verification.
  (req, res) => {
    try {
      const event = SelfWebhooks.verify(
        req.body,                                            // Buffer.
        req.headers as Record<string, string>,
        process.env.SELF_WEBHOOK_SECRET!,
      );

      if (event.type === 'verification.completed') {
        // event.verification_id, event.external_uuid, event.proof_attributes.
        console.log('verified:', event);
      }

      res.status(200).end();
    } catch (err) {
      res.status(400).end();
    }
  },
);
8. Test the loop
Open the verificationUrl from step 5, run through with a mock passport, and watch your webhook handler fire. The dashboard’s Activity log tab on the flow shows the verification end-to-end.
What’s next
- How verification works: the zero-knowledge model behind that webhook.
- Configure a product: go beyond defaults.
- Event catalog: every webhook type and its payload.
- SDK reference: every SDK method, with types.
- Error handling: what each error means and how to handle it.